
Want a photo or design at wall size but only have a home printer? GrafixManager tiles your image across ordinary A4 or Letter pages that you tape together into an exact full-size poster — no print shop, no scaling guesswork.
What you'll need
- The image you want to enlarge (PNG, JPEG, or a PDF).
- A home printer with A4 or Letter paper.
- A ruler, scissors or a craft knife, and tape.
Step 1 — Upload your image
Open the studio and drop your image in. It's processed right in your browser — nothing is uploaded.

Step 2 — Set the finished size
Switch the unit to what you think in (inches or centimetres) and type the finished width. The height follows automatically to keep your image's proportions. This is the real, physical size your assembled poster will be.

Step 3 — Choose your paper
Pick A4 or Letter and set the overlap and margins. The overlap gives you a strip to line up and tape; the preview shows exactly how many pages you'll print and how they grid together.
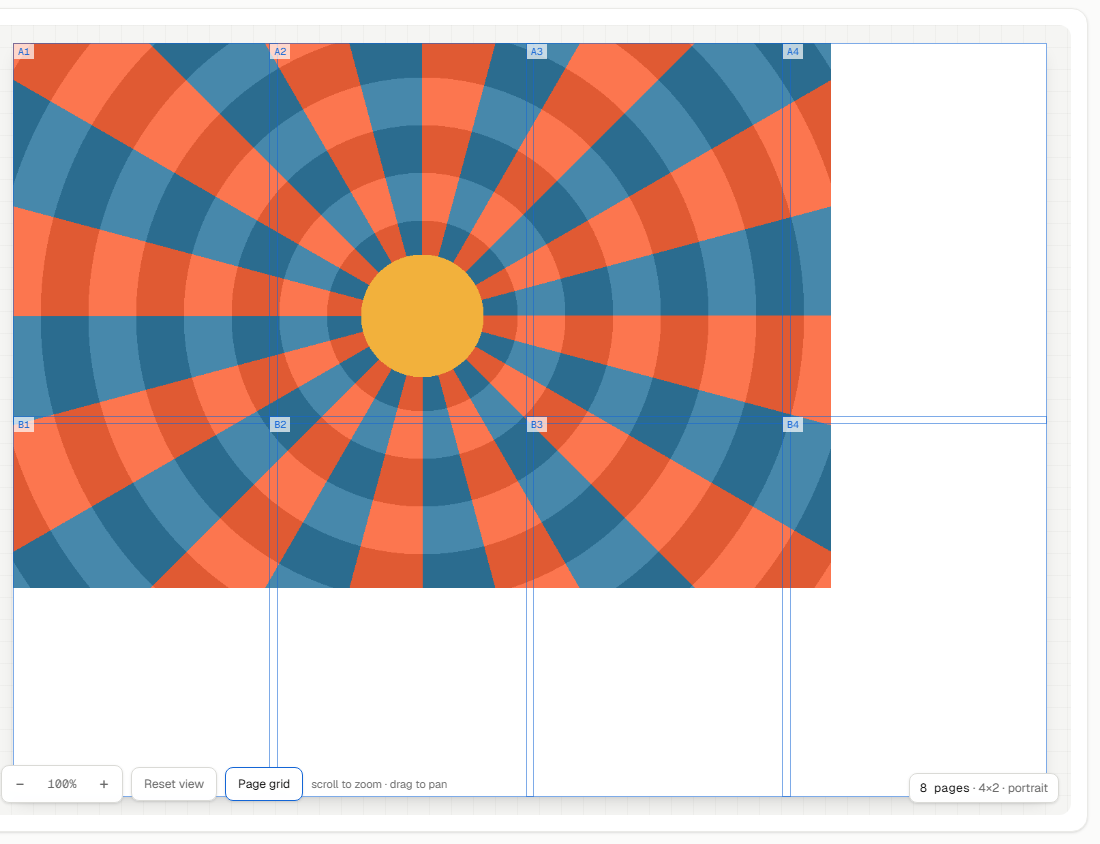
Step 4 — Download and print
Download the PDF and print it at Actual Size / 100% — never "Fit to Page" or "Scale to Fit", which silently shrink the artwork. Print page 1 first and measure its calibration square with a ruler to confirm the scale before printing the rest.
Step 5 — Assemble
Trim each page along the dashed line, line up the overlaps, and tape. Work row by row and you'll have a crisp, exactly-sized poster.
What to expect
The finished size is exact to the point — a 36 in width really is 36 inches. Print quality depends on your source: a high-resolution image stays sharp at large sizes, while a small photo blown up big will look soft. If the studio warns that the DPI is low, try a larger source, reduce the finished size, or turn on Enhance photo to smooth the enlargement.